VESC BLDC Tool - Motor Wizard Instructions
STEP BY STEP INSTRUCTIONS - MOTOR WIZARD
The Motor Wizard is a simple way to configure your VESC versus manually configuring your VESC and not understanding the other features. It will allow you to properly configure your motor and battery pack with the VESC.
STEP 1 - Confirm you have the latest proper version installed.
- Confirm that your VESC is connected to your computer.
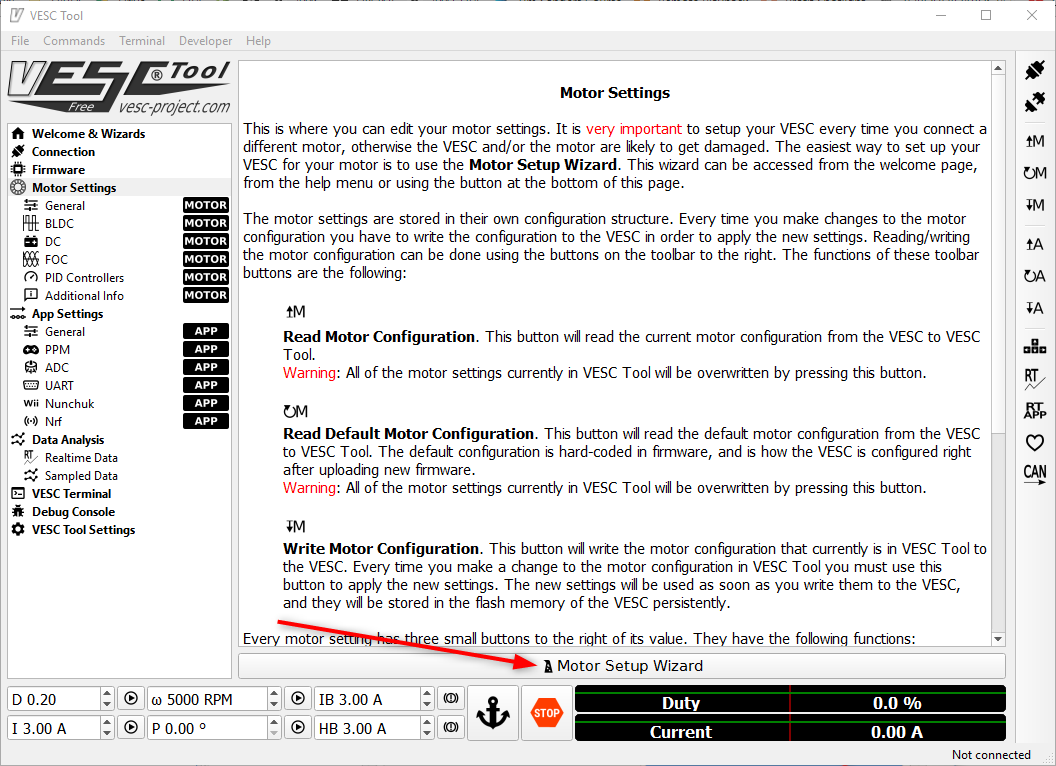
STEP 2 - Using The Motor Setup Wizard will probably be the easiest option.
- Select the Motor Setup Wizard as shown in the image below.
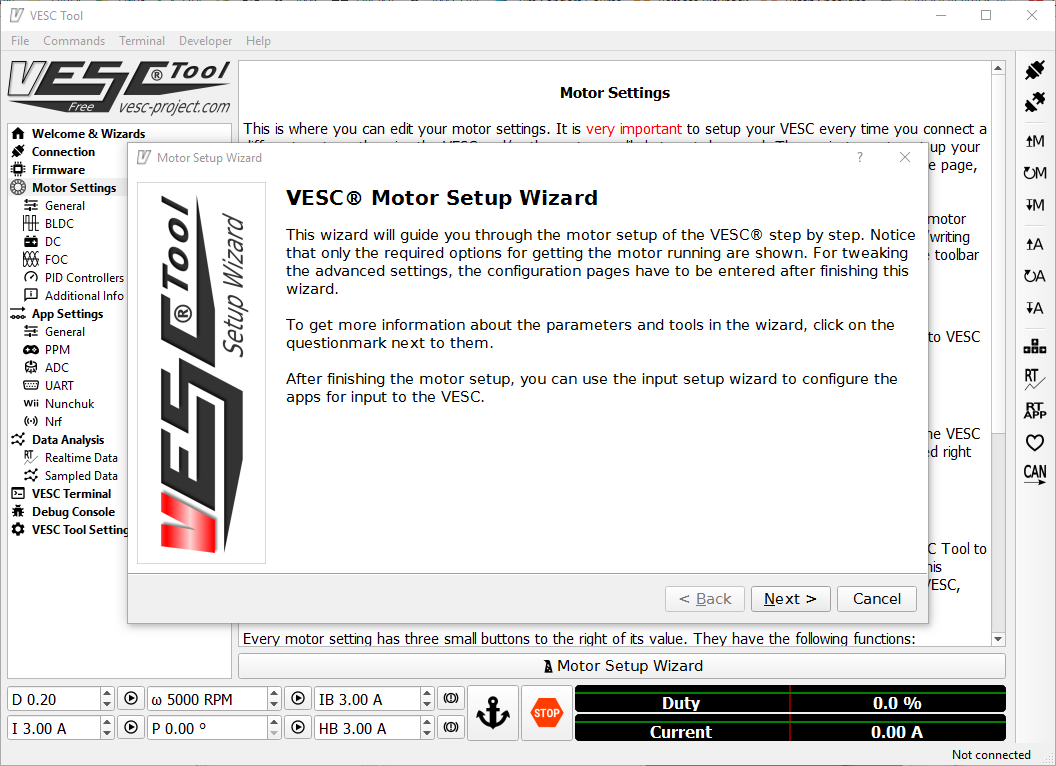
STEP 3 - Read the VESC Motor Setup Wizard information and select Next >.
STEP 4 - Choose Your Motor Type.
- We recommend first testing and trying the BLDC Motor Type option and later on after getting the hang and feel for your new electric skateboard. You can try the other options such as FOC mode in the near future.
- Make sure BLDC is selected for Motor Type.
- Select Next > to continue forward.

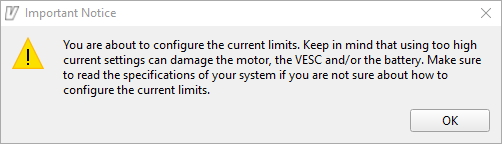
STEP 5 - Adjusting Current Limits.
Adjusting current limits if the incorrect values are added. It can damage your VESC or Battery.
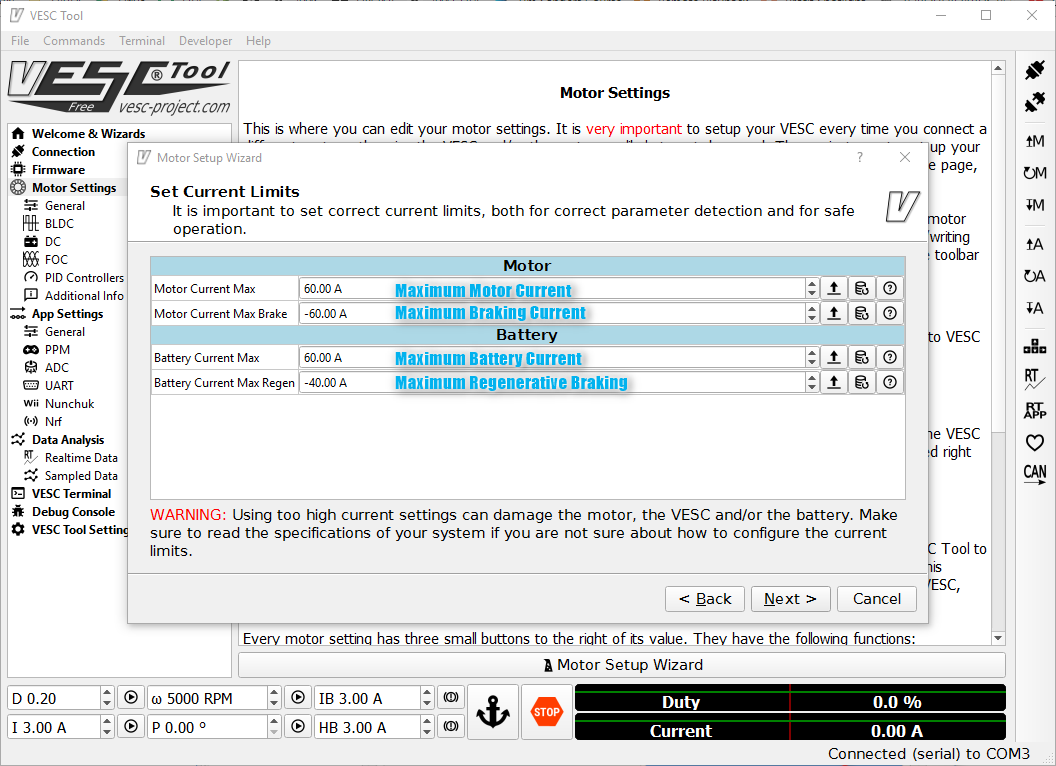
STEP 6 - Set Current Limits
In this setting, you have the option of being able to adjust your max motor current and battery current.You can select the ? mark button on the right side for more information on what each setting does.We've included a brief description of each.
-
Motor Current Max - This is the max current your motor can sustain. I would not recommend using a value over 80A. Typically, this value can be adjusted from 20A - 80A. I would suggest a range of around 60A - 70A.
Recommendation - I would set this to 60A. More power, I would set it to 80A. -
Motor Current Max Brake - This is the max brake current. Typically, this value can be adjusted from -60 amps to -80A. This is always a negative value. I would suggest a range of -60A to -80A. -80A being increased braking power.
Recommendation - I would set this to -60A if the brakes aren't enough. I would set this to -80A. -
Battery Current Max - This is the maximum braking current that is pulled from the battery pack. Battery current is always lower or the same as your motor current. This value is dependent on the battery pack and what it's max current limits are. Typically, this value can be adjusted from 30A to 80A.
Recommendation - I would set this to 60A. More power, I would set to 80A. This is if you are using a LiPo pack and/or our 6S3P Electric Skateboard Battery Pack. -
Battery Current Max Regen - This is the negative regenerative energy that is typically fed back into your battery pack. This value is much lower and is dependent on your battery pack and your typical charge rate for your battery.
Recommendation - I would set this as -8A to -12A to be on the safe side. If you want more regenerative braking. Find out the total charge rate in amps that your battery is capable of and you can adjust this value as such.
STEP 7 - Set Battery Cutoff

If you are using our battery packs and/or RC Lipos. You typically, won't be using a power supply and will be using your battery pack directly. You would select YES in this case as we do want to configure our soft battery cutoff.
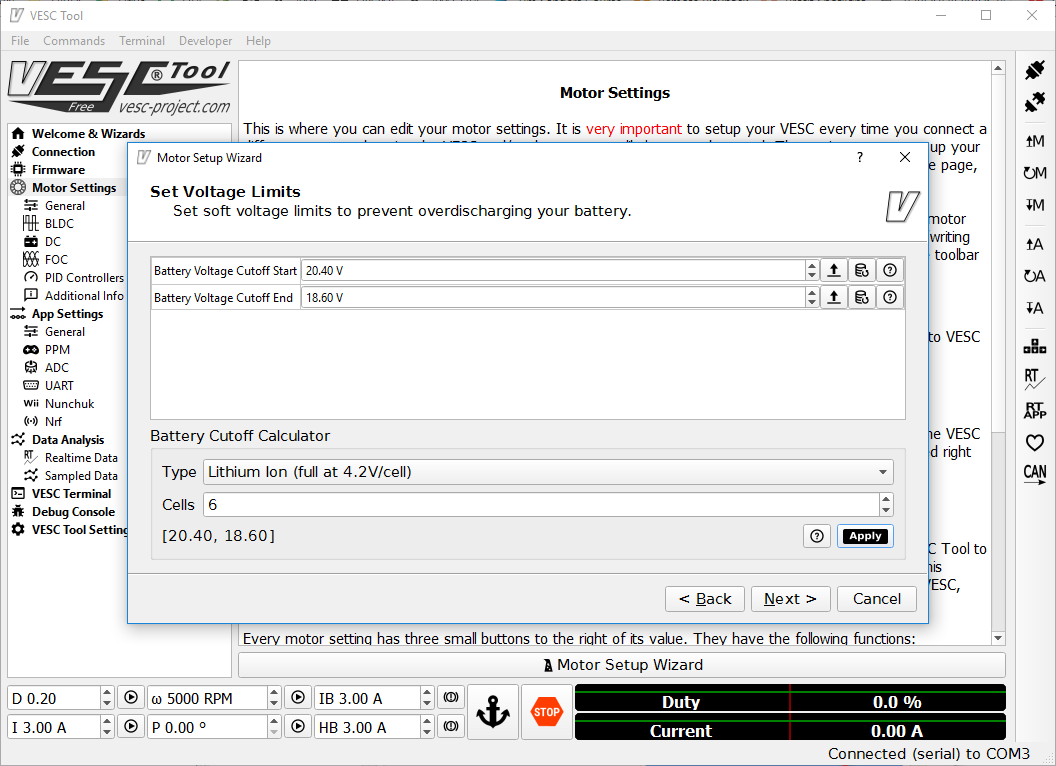
If you are using a 6S Battery - Make sure to set battery cut off for 6 Cells.
If you are using a 12S Battery - Make sure to set battery cut off for 12 Cells.
You can see on the image above that you can simply enter in the amount of cells that you have and select Apply and it will automatically input the correct battery voltage cutoff for start and end.
Lithium Ion and Lithium Polymer (LiPo) as discussed previously are the same voltage. If you are using an RC LiPo battery pack the value would be the same as Lithium Ion.
Once you select Apply, you can then select NEXT >.
Note - You can lower these values to potentially get more life or mileage/range for your battery pack. There are pros and cons to lowering these values but the values shown above are in the safety range. By using the values above, you will potentially prolong the life of your battery pack.
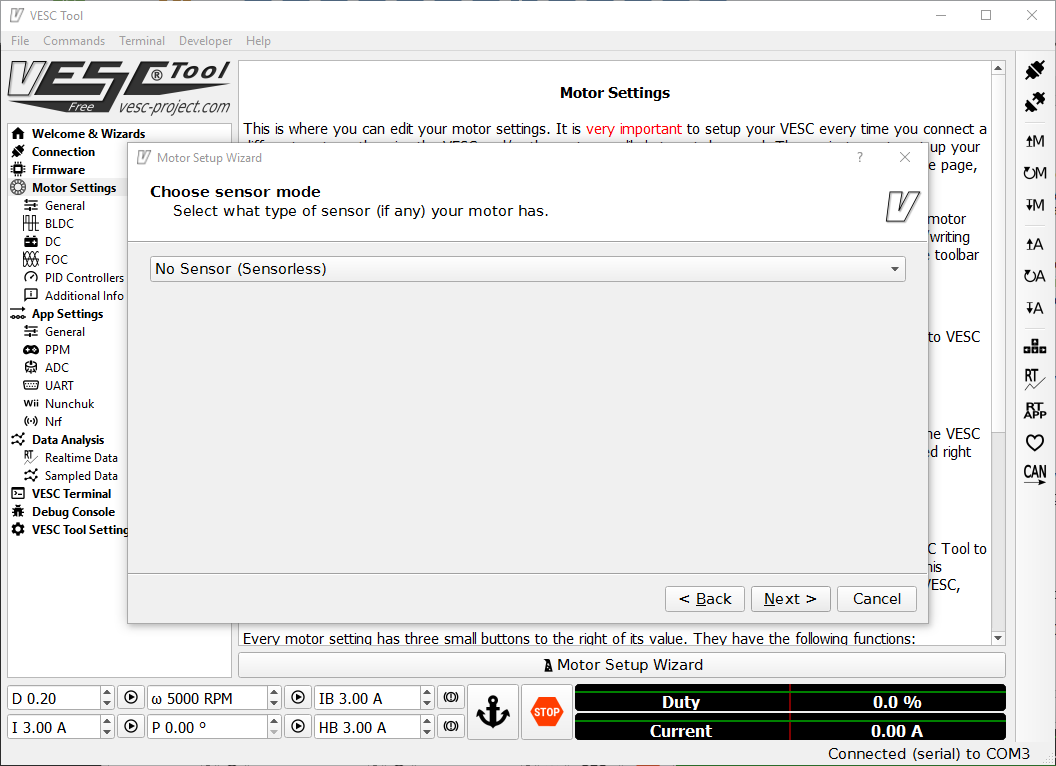
STEP 8 - Choose Sensor Mode
Choosing to use sensors with your setup will allow your start up to be smoother than BLDC mode. However, setting up with sensors is a more difficult task so this section is skipped in this tutorial. We'll have a future article on how to use your Electric Skateboard Motor in sensored mode if you choose too.
- Select No Sensor (Sensorless)
- Select Next >
STEP 9 - BLDC Settings + Motor Detection
You will want to run motor detection for the VESC BLDC Tool to detect your settings for your motor and then apply those settings to the VESC.
Make sure you've done the following.
- 6S-12S Battery Source is connected to VESC.
- VESC is connected by USB to your computer.
- Motor is connected to the VESC (without sensor wires plugged in).

NOTE - Motor wires from the motor or VESC are not touching each other. If so, this should be taped off or new heatshrink should be used to cover the copper connectors. This is to prevent a short between the motor wires.
NOTE - Ignore the Cycle Integrator Limit and BEMF Coupling values shown above as those are incorrect values. The image is specifically to show the actual window which you should be viewing.
What's next... Detect BLDC Parameters
- Select the Play button icon. Your motor will spin. You'll want to make sure your motor will not run away. Make sure your motor is secured to a motor mount on a deck and/or hold it as it will spin.
- Once everything spins properly, select Apply. It should change the values above after you select Apply.
- Select Next >.
SUCCESS! Congratulations. You have successfully finished the Motor Wizard!
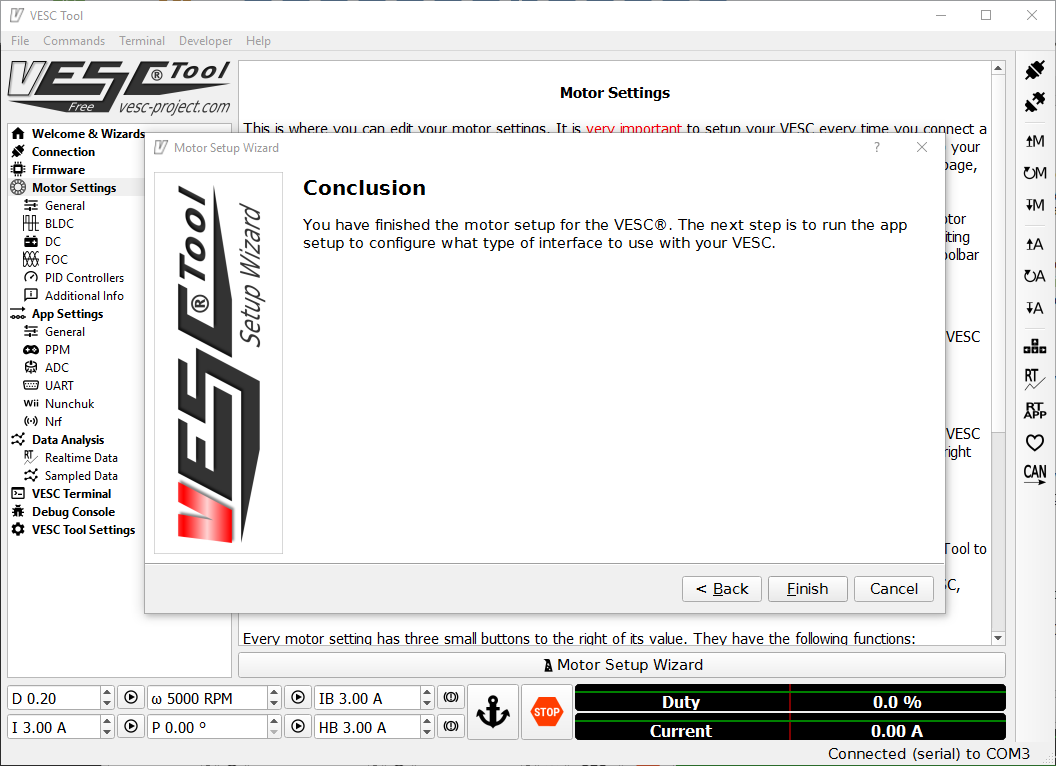
The next step is to move onto the App Settings Wizard.


Leave a comment